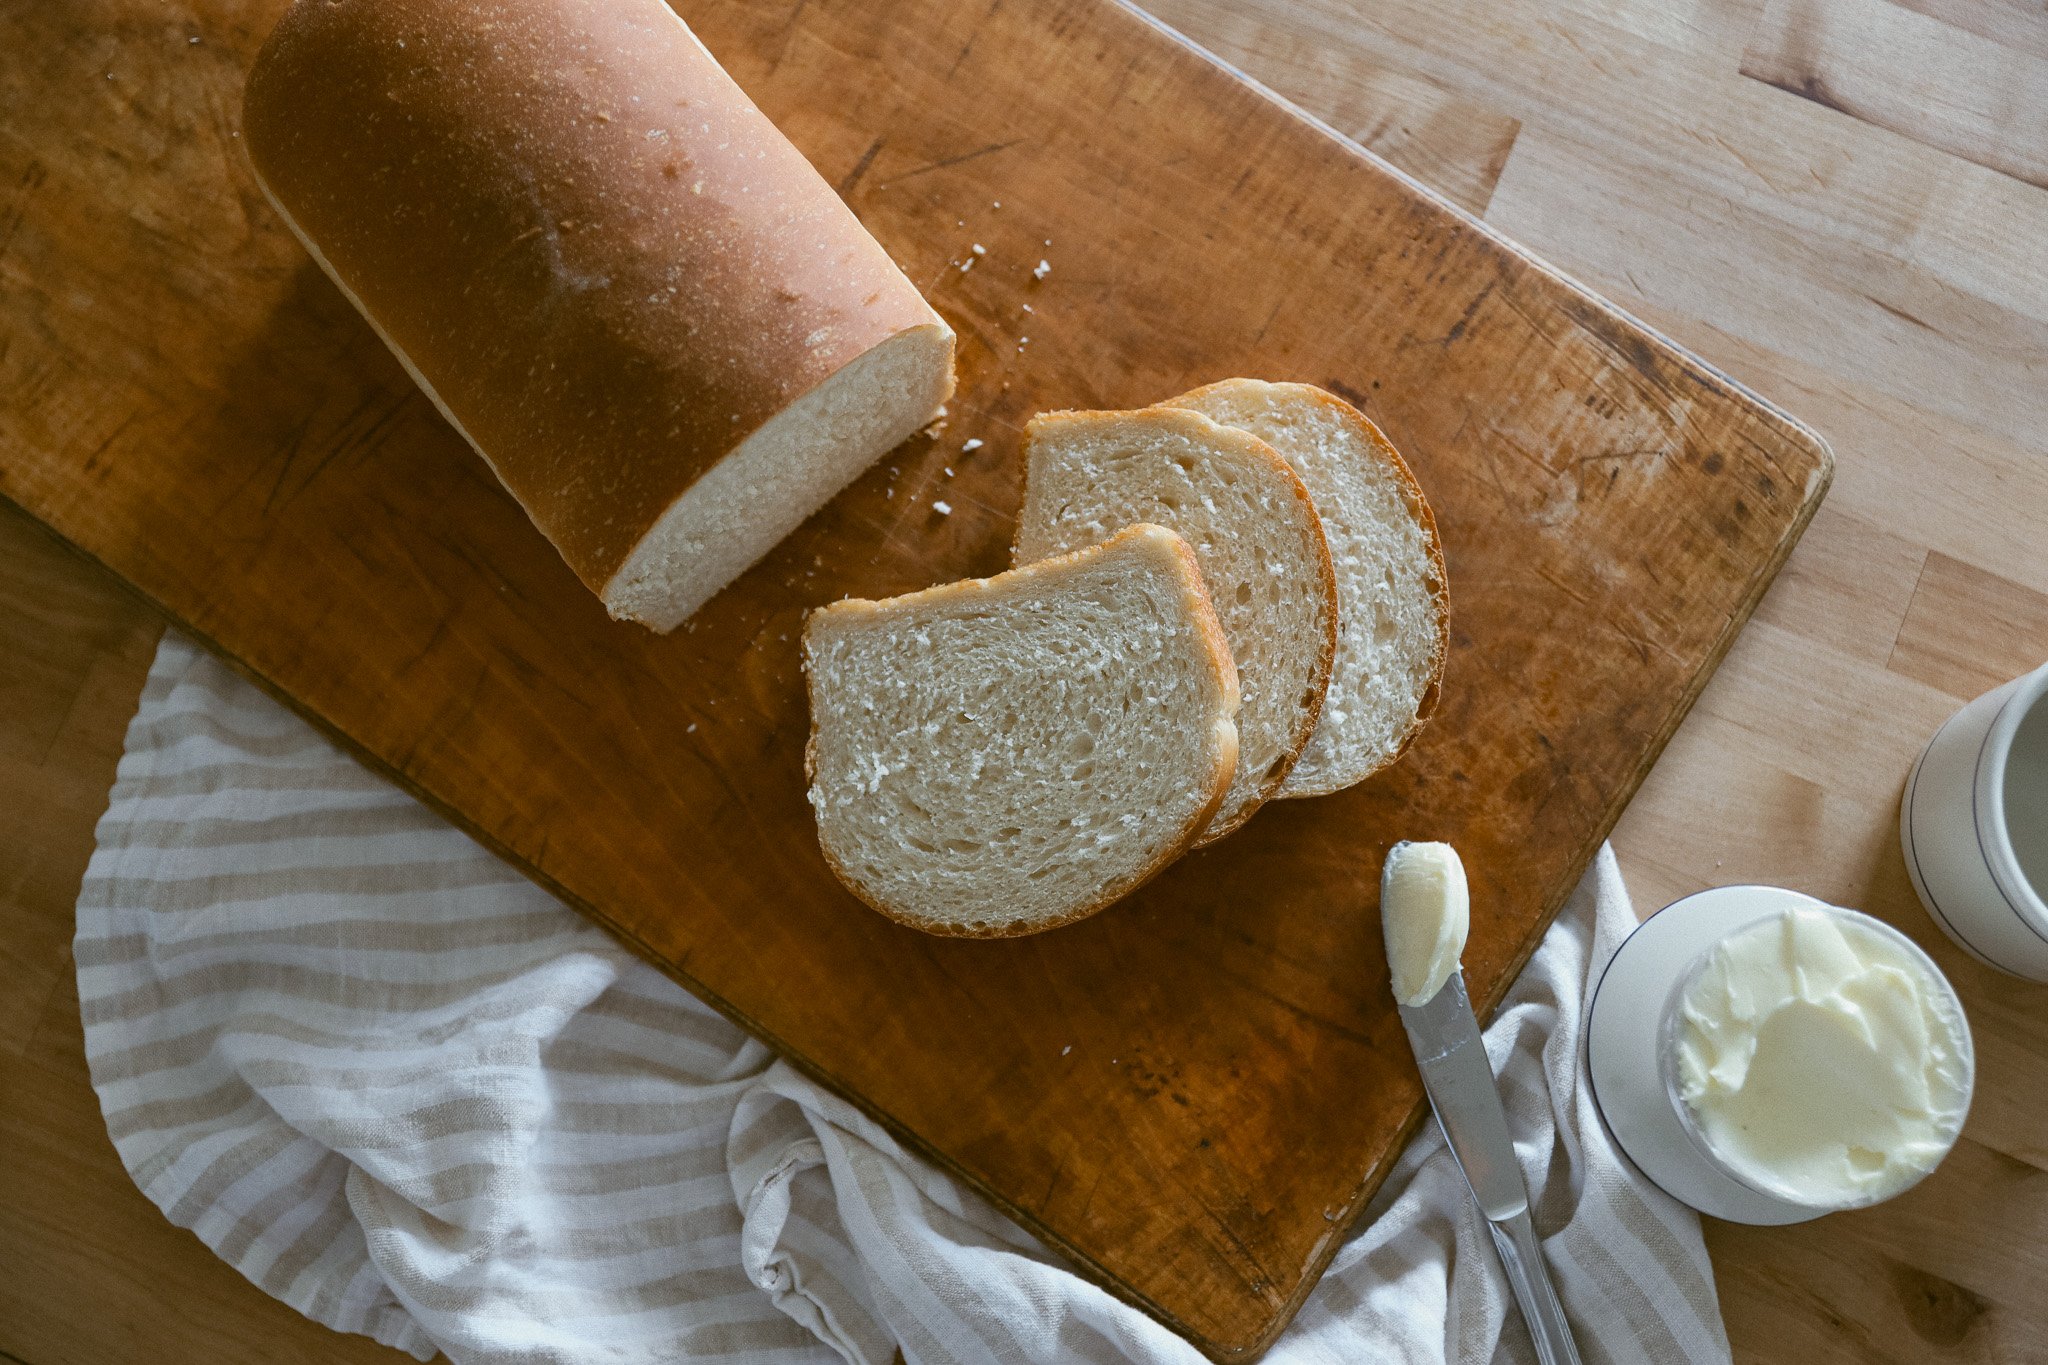
Easy Sourdough Sandwich Bread
Let me start by saying, this is not my original recipe. I got it from my sister-in-law, who got it from a friend, who got it from … well, I’m not sure where it originated. BUT I have adopted it into my weekly baking routine and made a few tweaks to create the most delicious sourdough sandwich bread I’ve ever had. My children aren’t all about that tangy taste sourdough is known for, which is why I love this loaf so much. It’s soft and sweet and has a very mild tang that my children approve of!
What do you need?
60 grams butter
60 grams honey or sugar
6 grams salt
450 grams milk
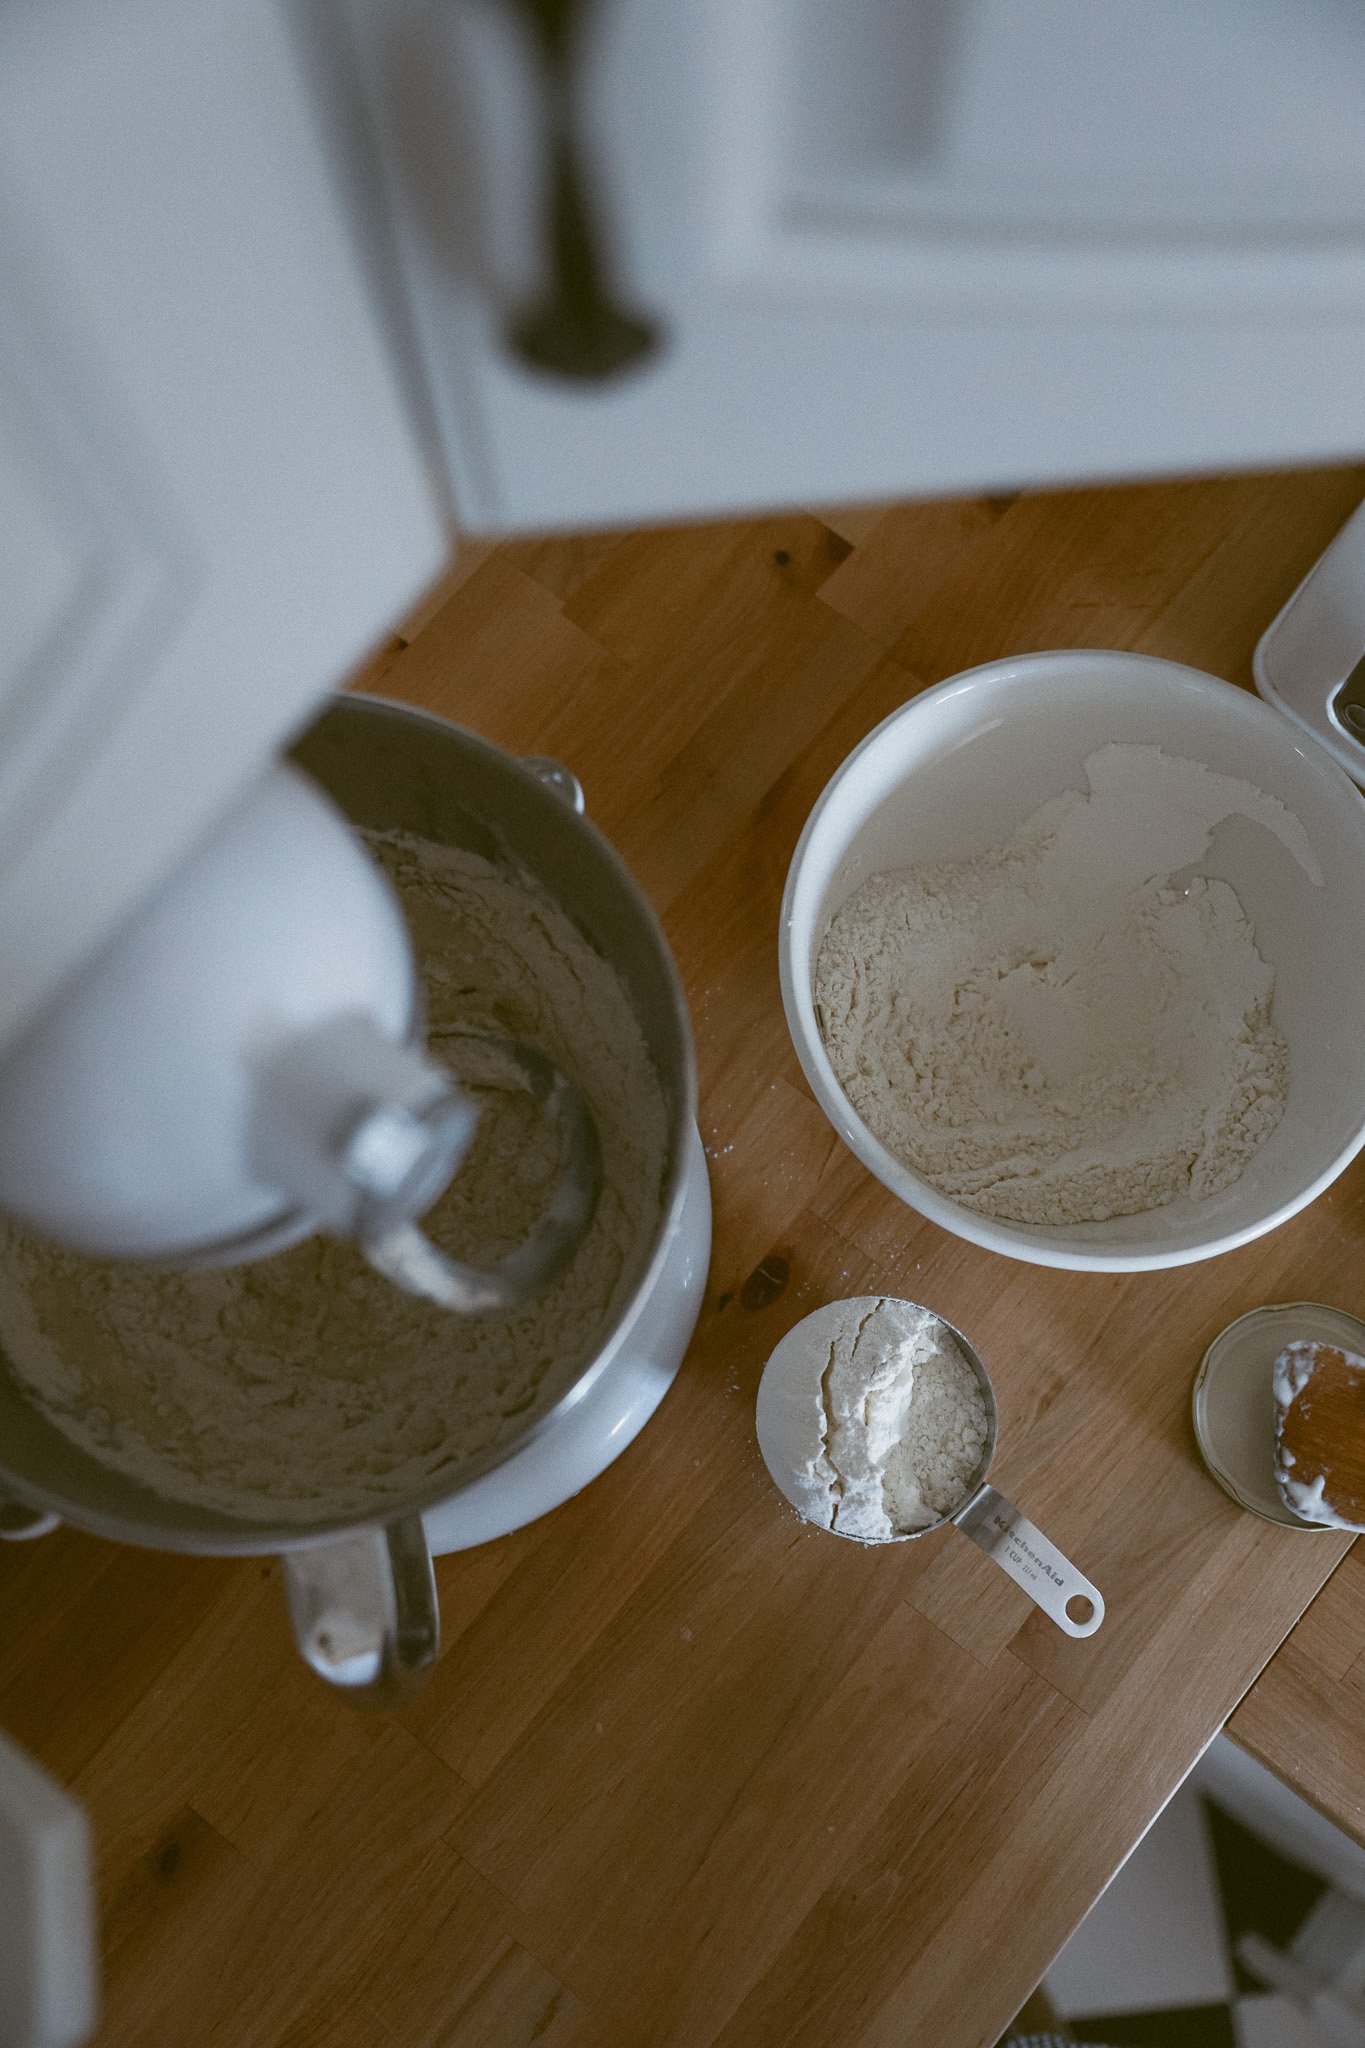
780 grams flour (I use organic all purpose flour)
30 grams unfed starter + 120 grams water + 120 grams flour
How It’s Done
The night before mix together 30 grams of unfed starter with 120 grams of water and 120 grams of flour. Set aside and let it get nice and bubbly overnight. The time it takes for your starter to rise depends on the temperature and humidity in your home. I find in summer it takes between 9-10 hours, but in winter it takes a few hours more.
In the morning heat butter, sugar, and salt in a small pot on the stove just until the butter is melted. Add your milk and warm it up to room temperature. This happens really fast so don’t leave the stove! You want this mixture to be slightly warm to aid in rising but not so warm that it kills your starter.

3. Pour into your stand mixer fitted with the dough hook attachment and add all the sourdough starter you mixed the night before. Turn your mixer on low speed to start blending. Slowly add your flour and continue mixing until all the flour is incorporated. The dough will be pretty stiff and shaggy, and only slightly sticky. Cover and let rest for 30 minutes before continuing.
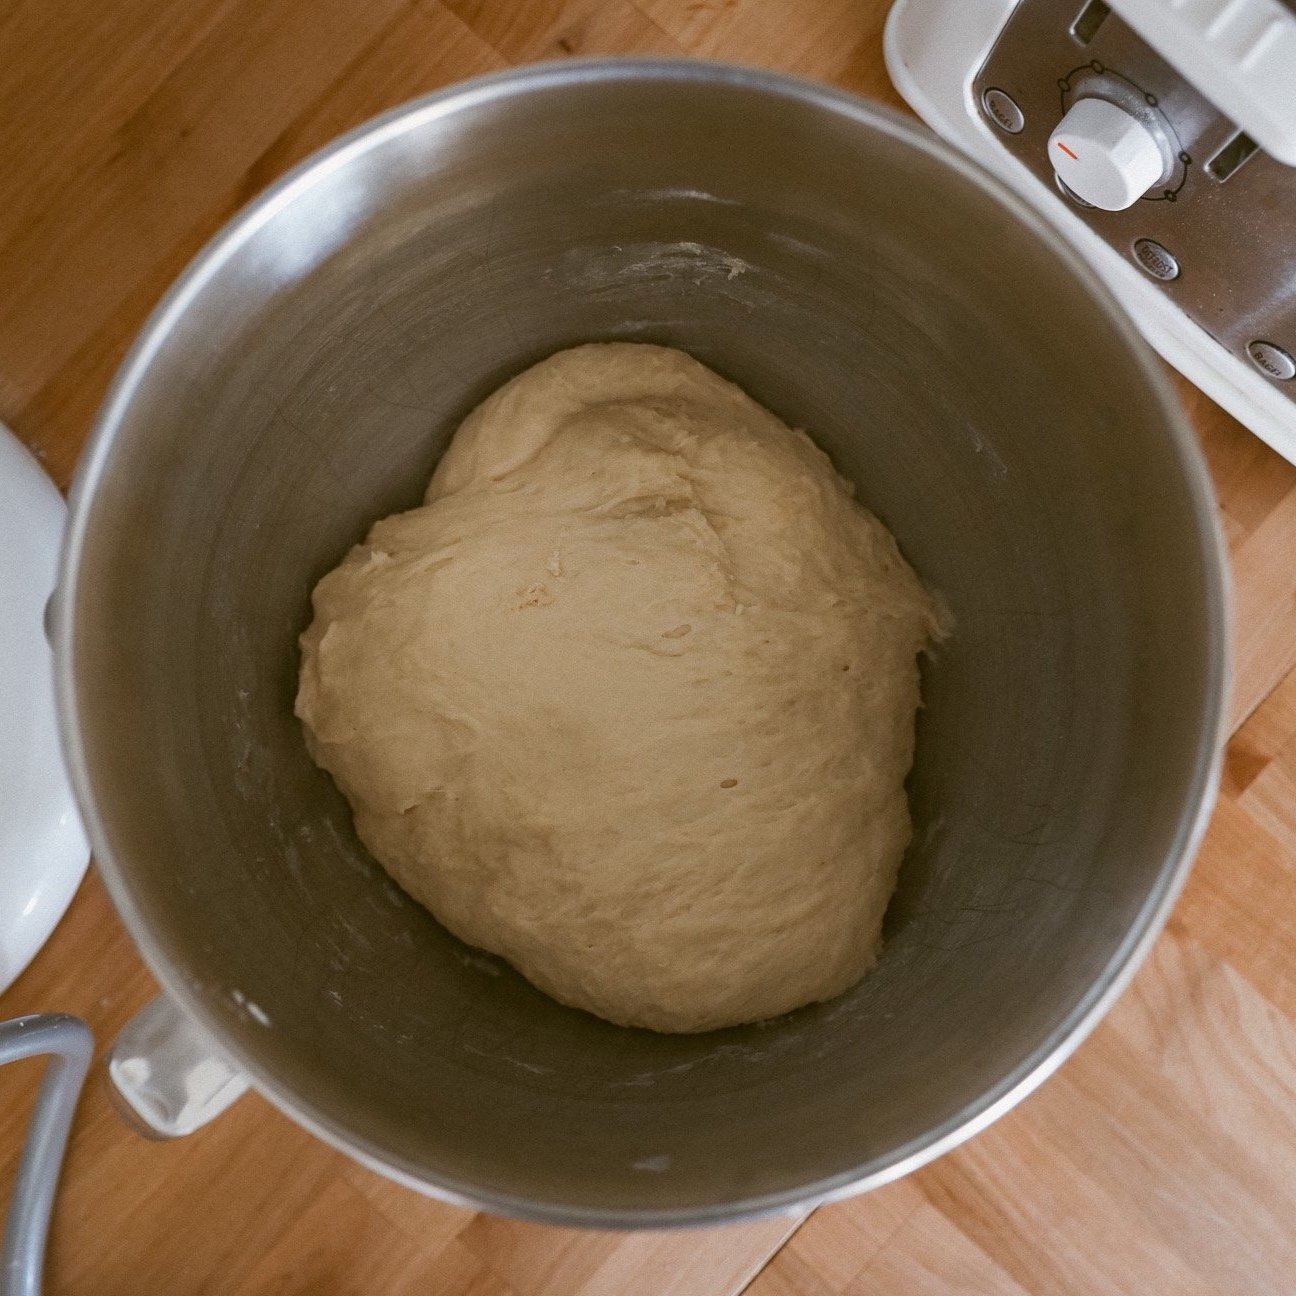
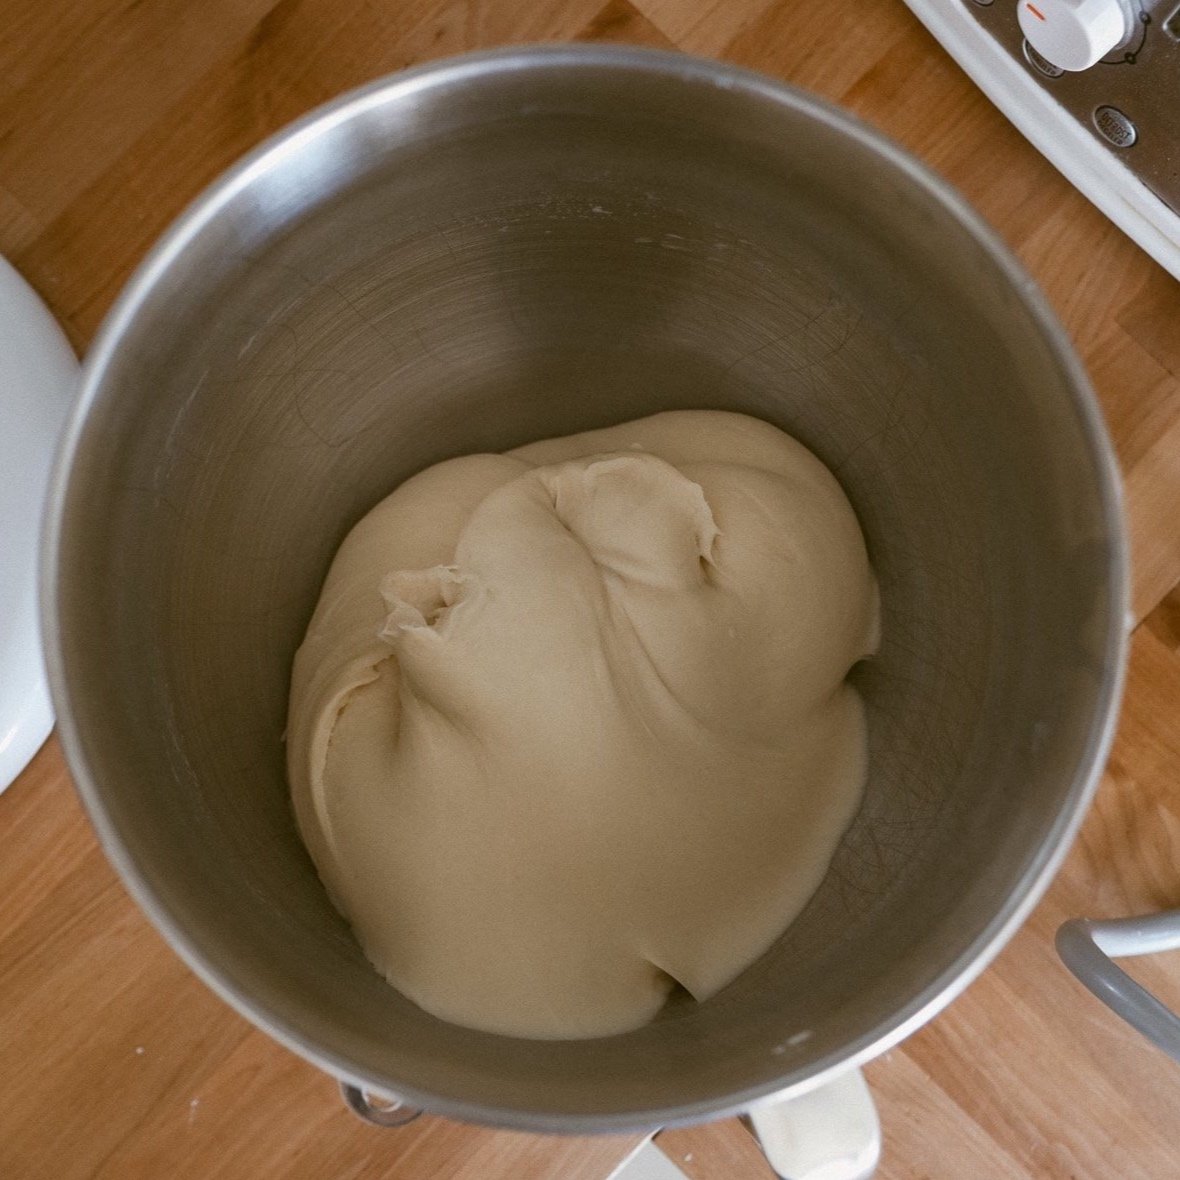
4. After a 30 minute rest, return the bowl of dough to your stand mixer and beat with the dough hook attachment for 10-15 minutes, or until your dough passes the window pane test. This means that if you stretch your dough really thin you can almost see through it without it breaking, like looking through a window pane! You can see the side by side comparison of what the dough looks like before and after beating it. After the beating it should be smooth and almost shiny! Remove the hook, cover, and set aside to rise for about 3 hours, or until doubled in size.
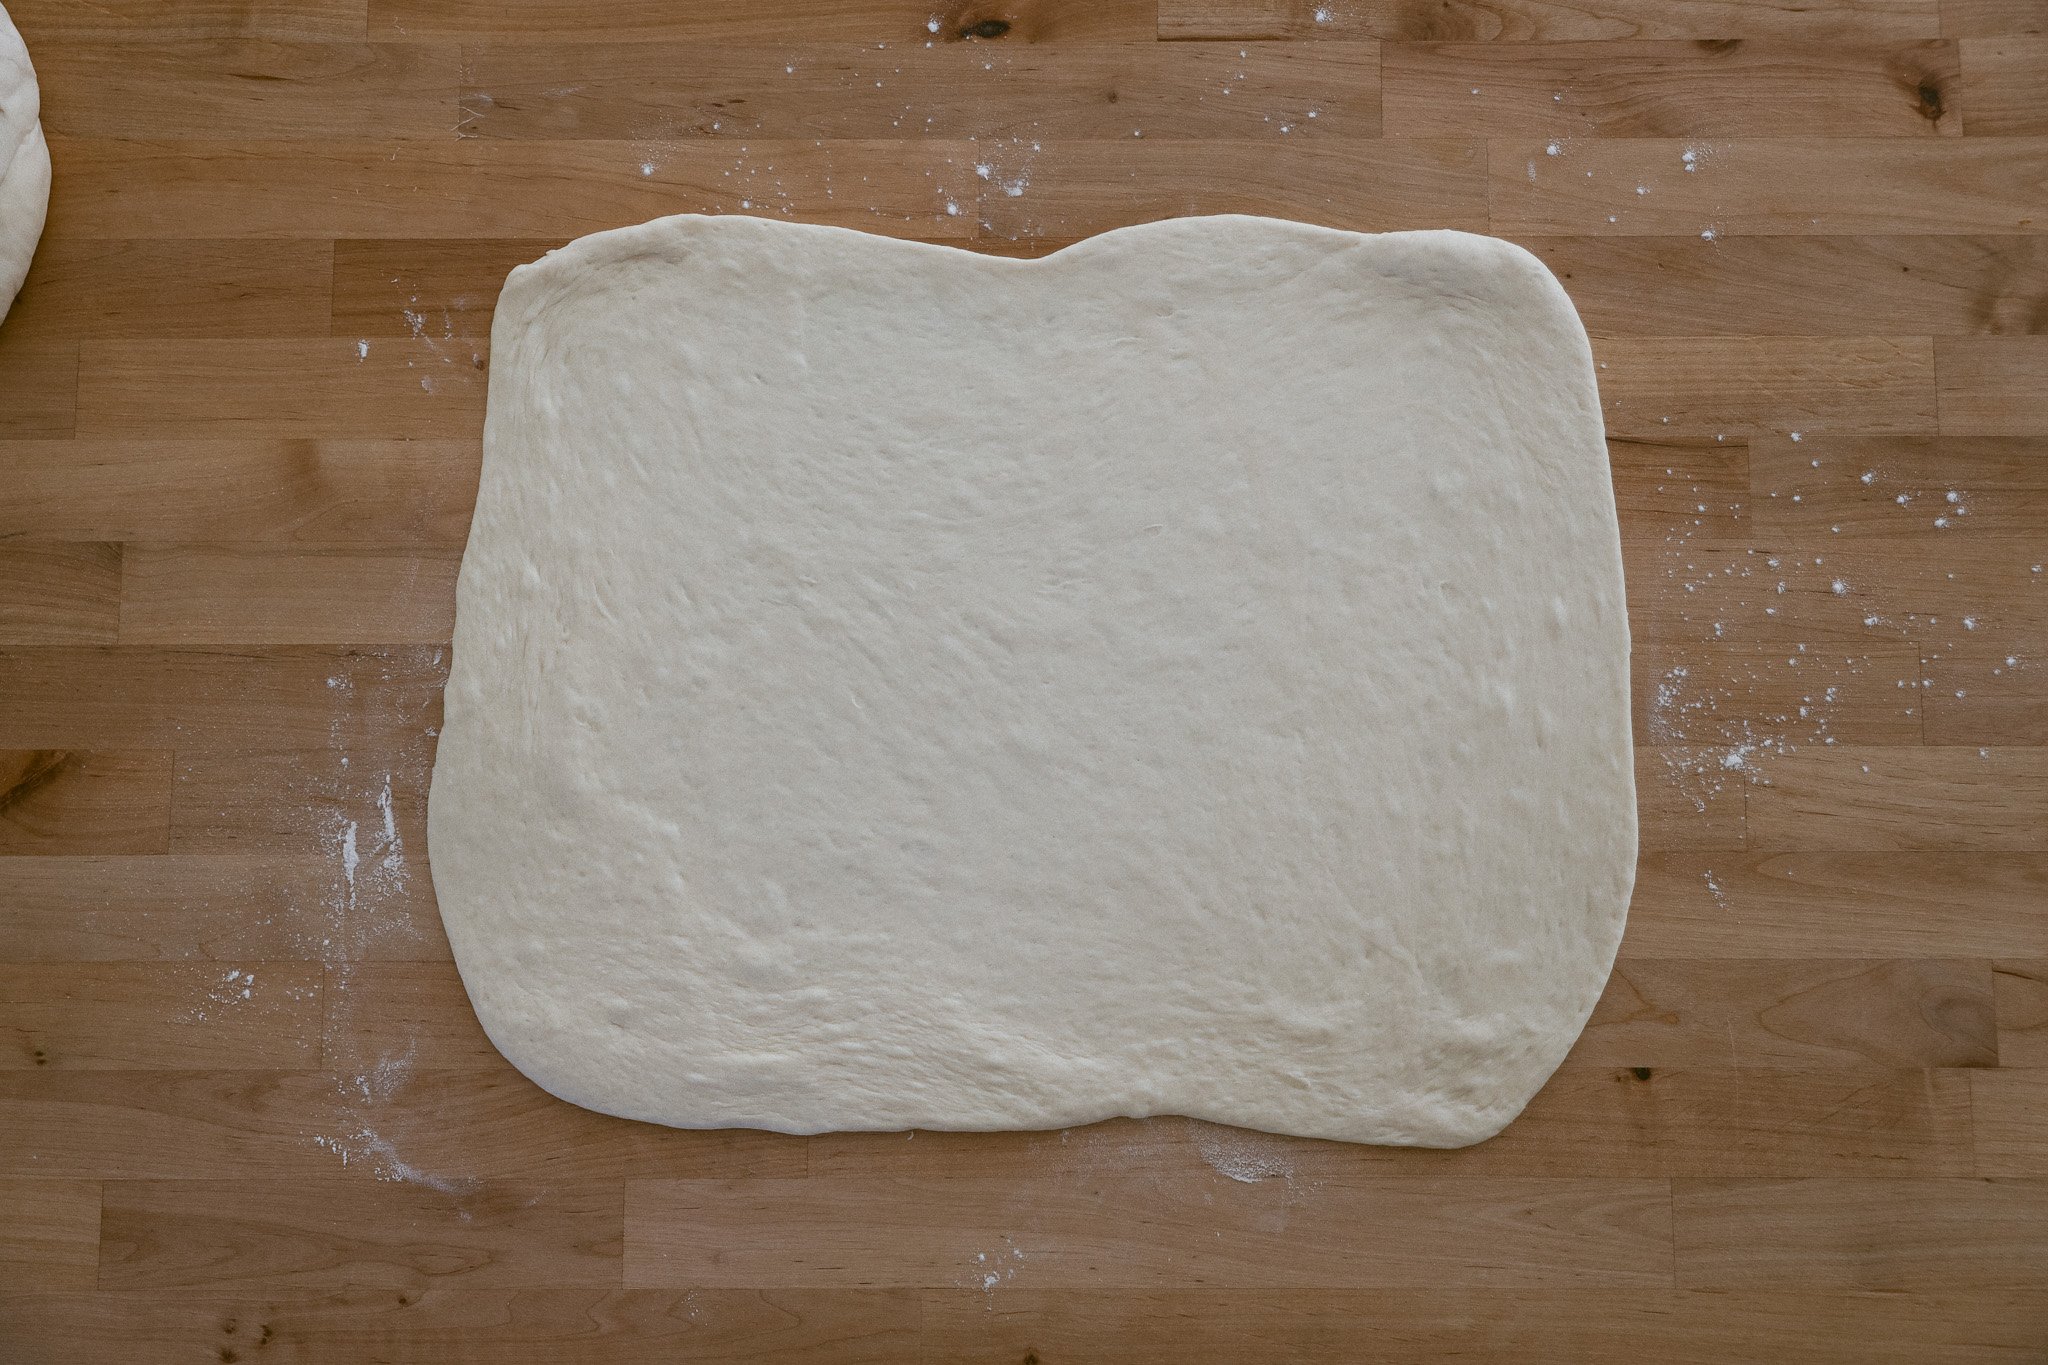
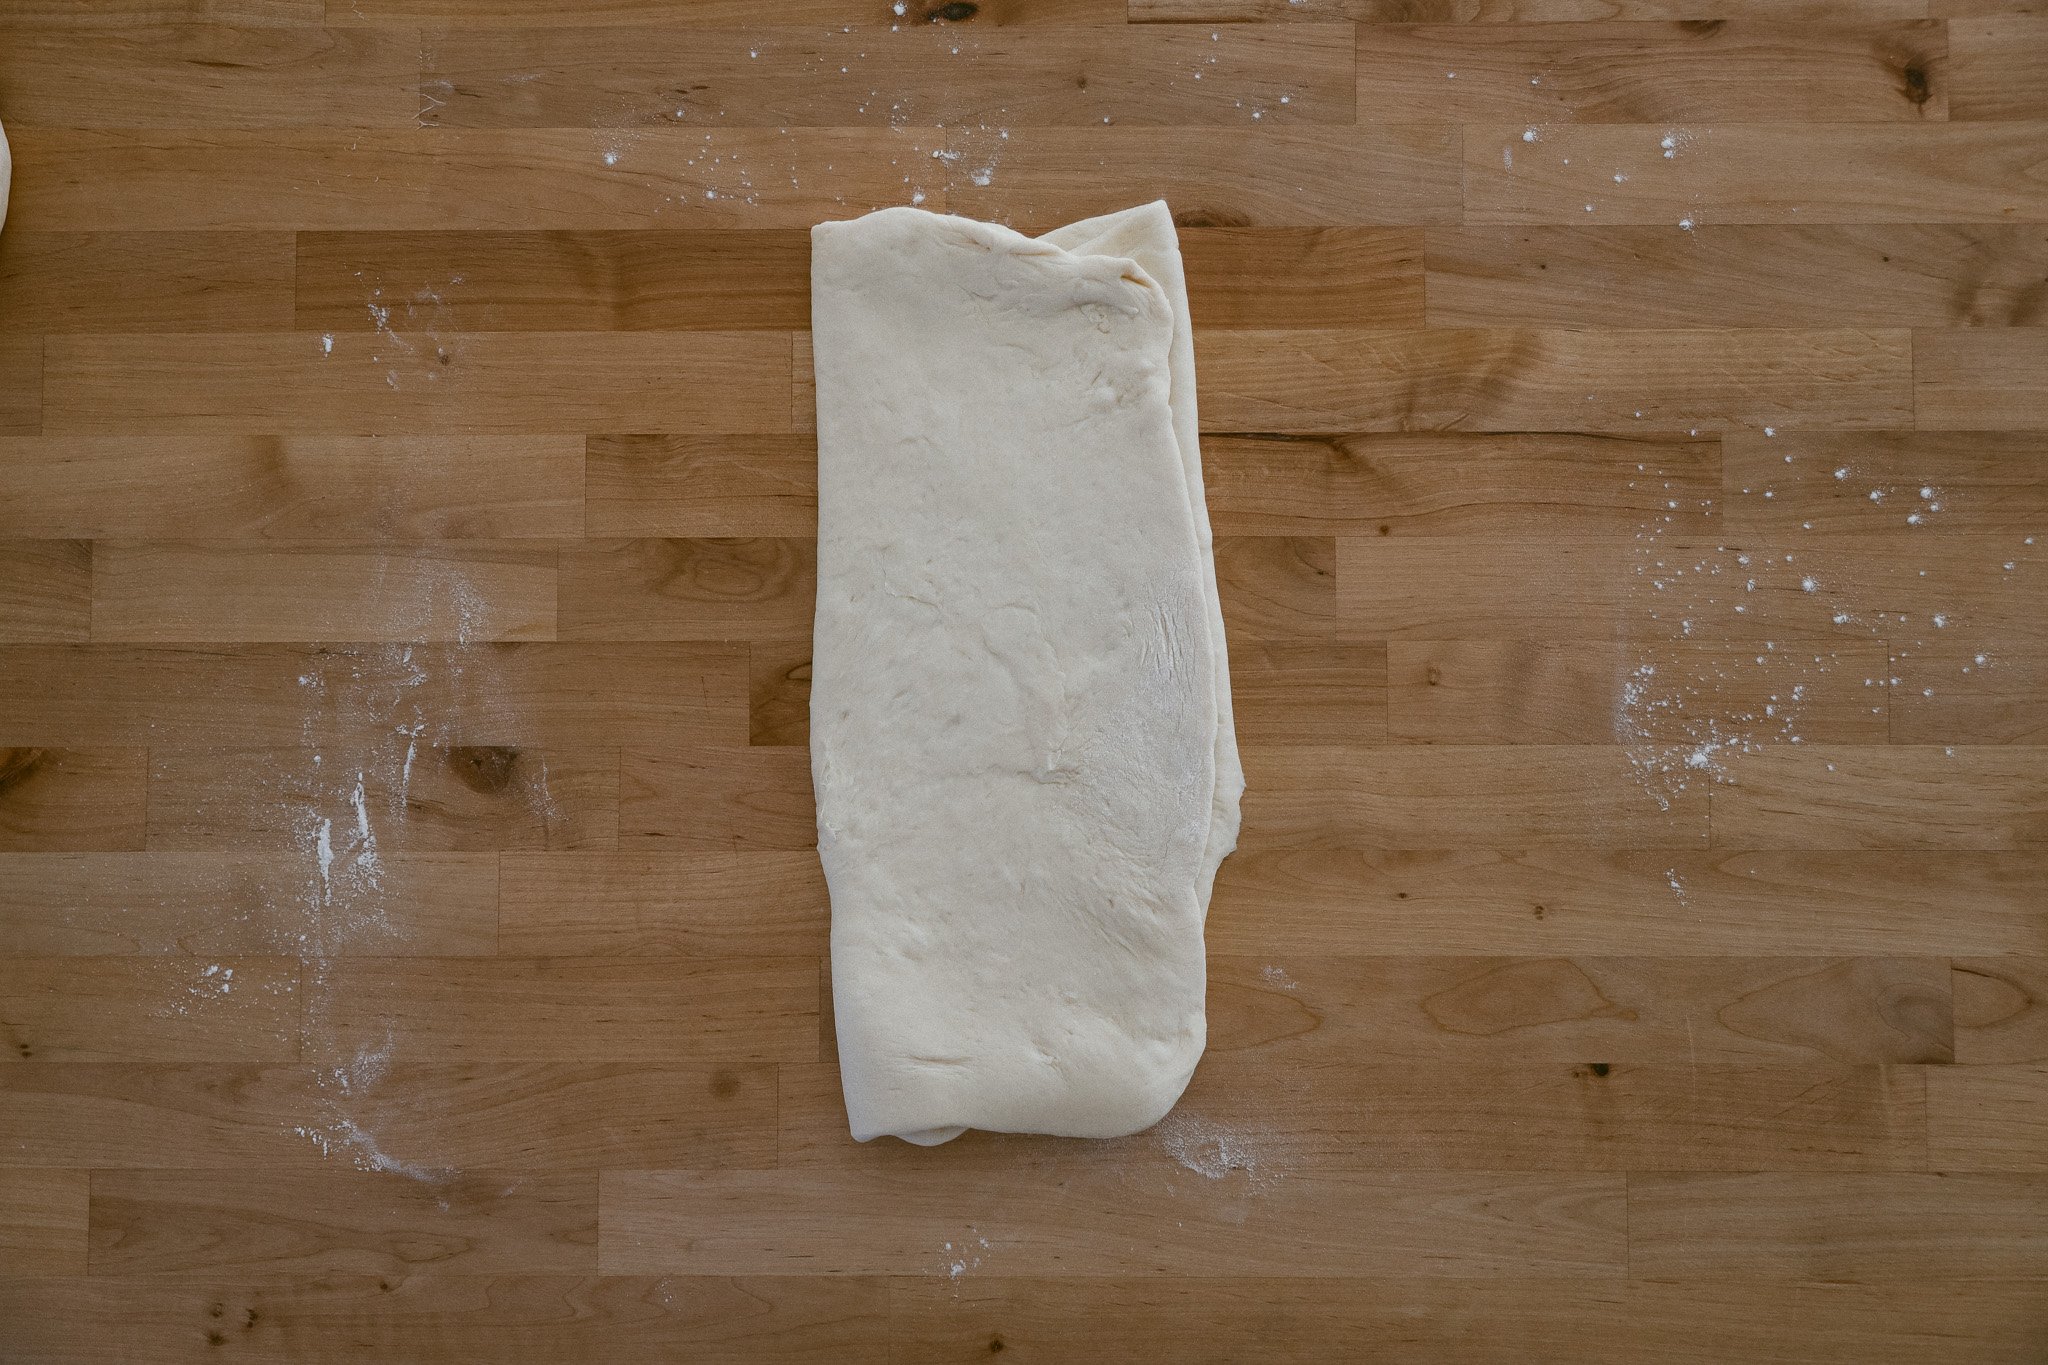
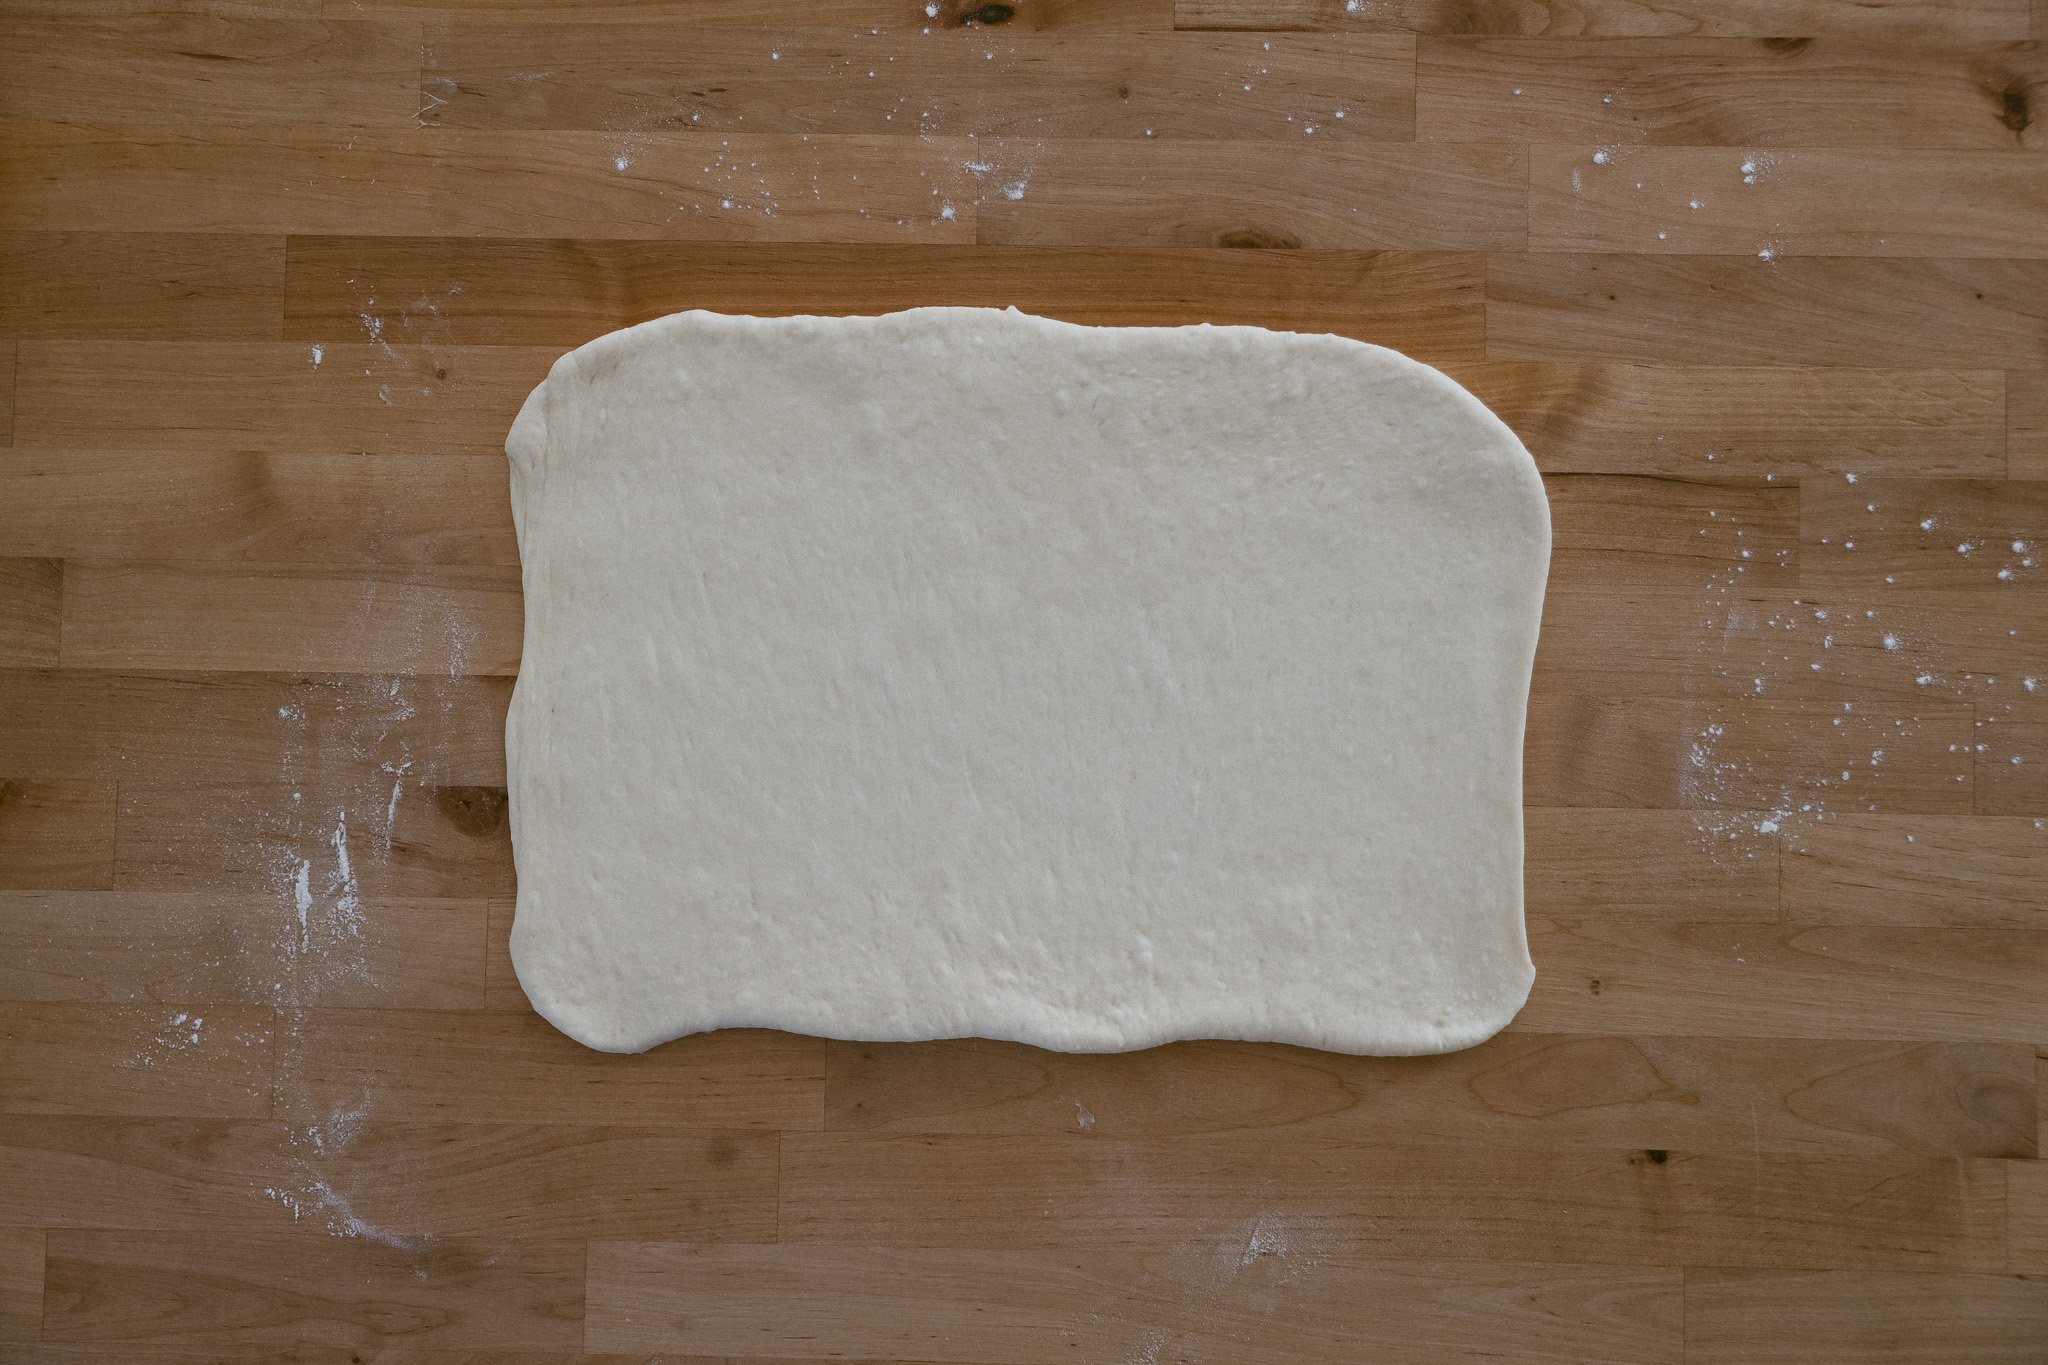
5. Turn out the dough and divide in half - this recipe makes 2 loaves. Working with one half at a time, lightly flour your surface and shape and roll into a large rectangle. Fold the rectangle into itself on both sides, folding it into thirds. Rotate 90 degrees and roll into a smaller rectangle this time.
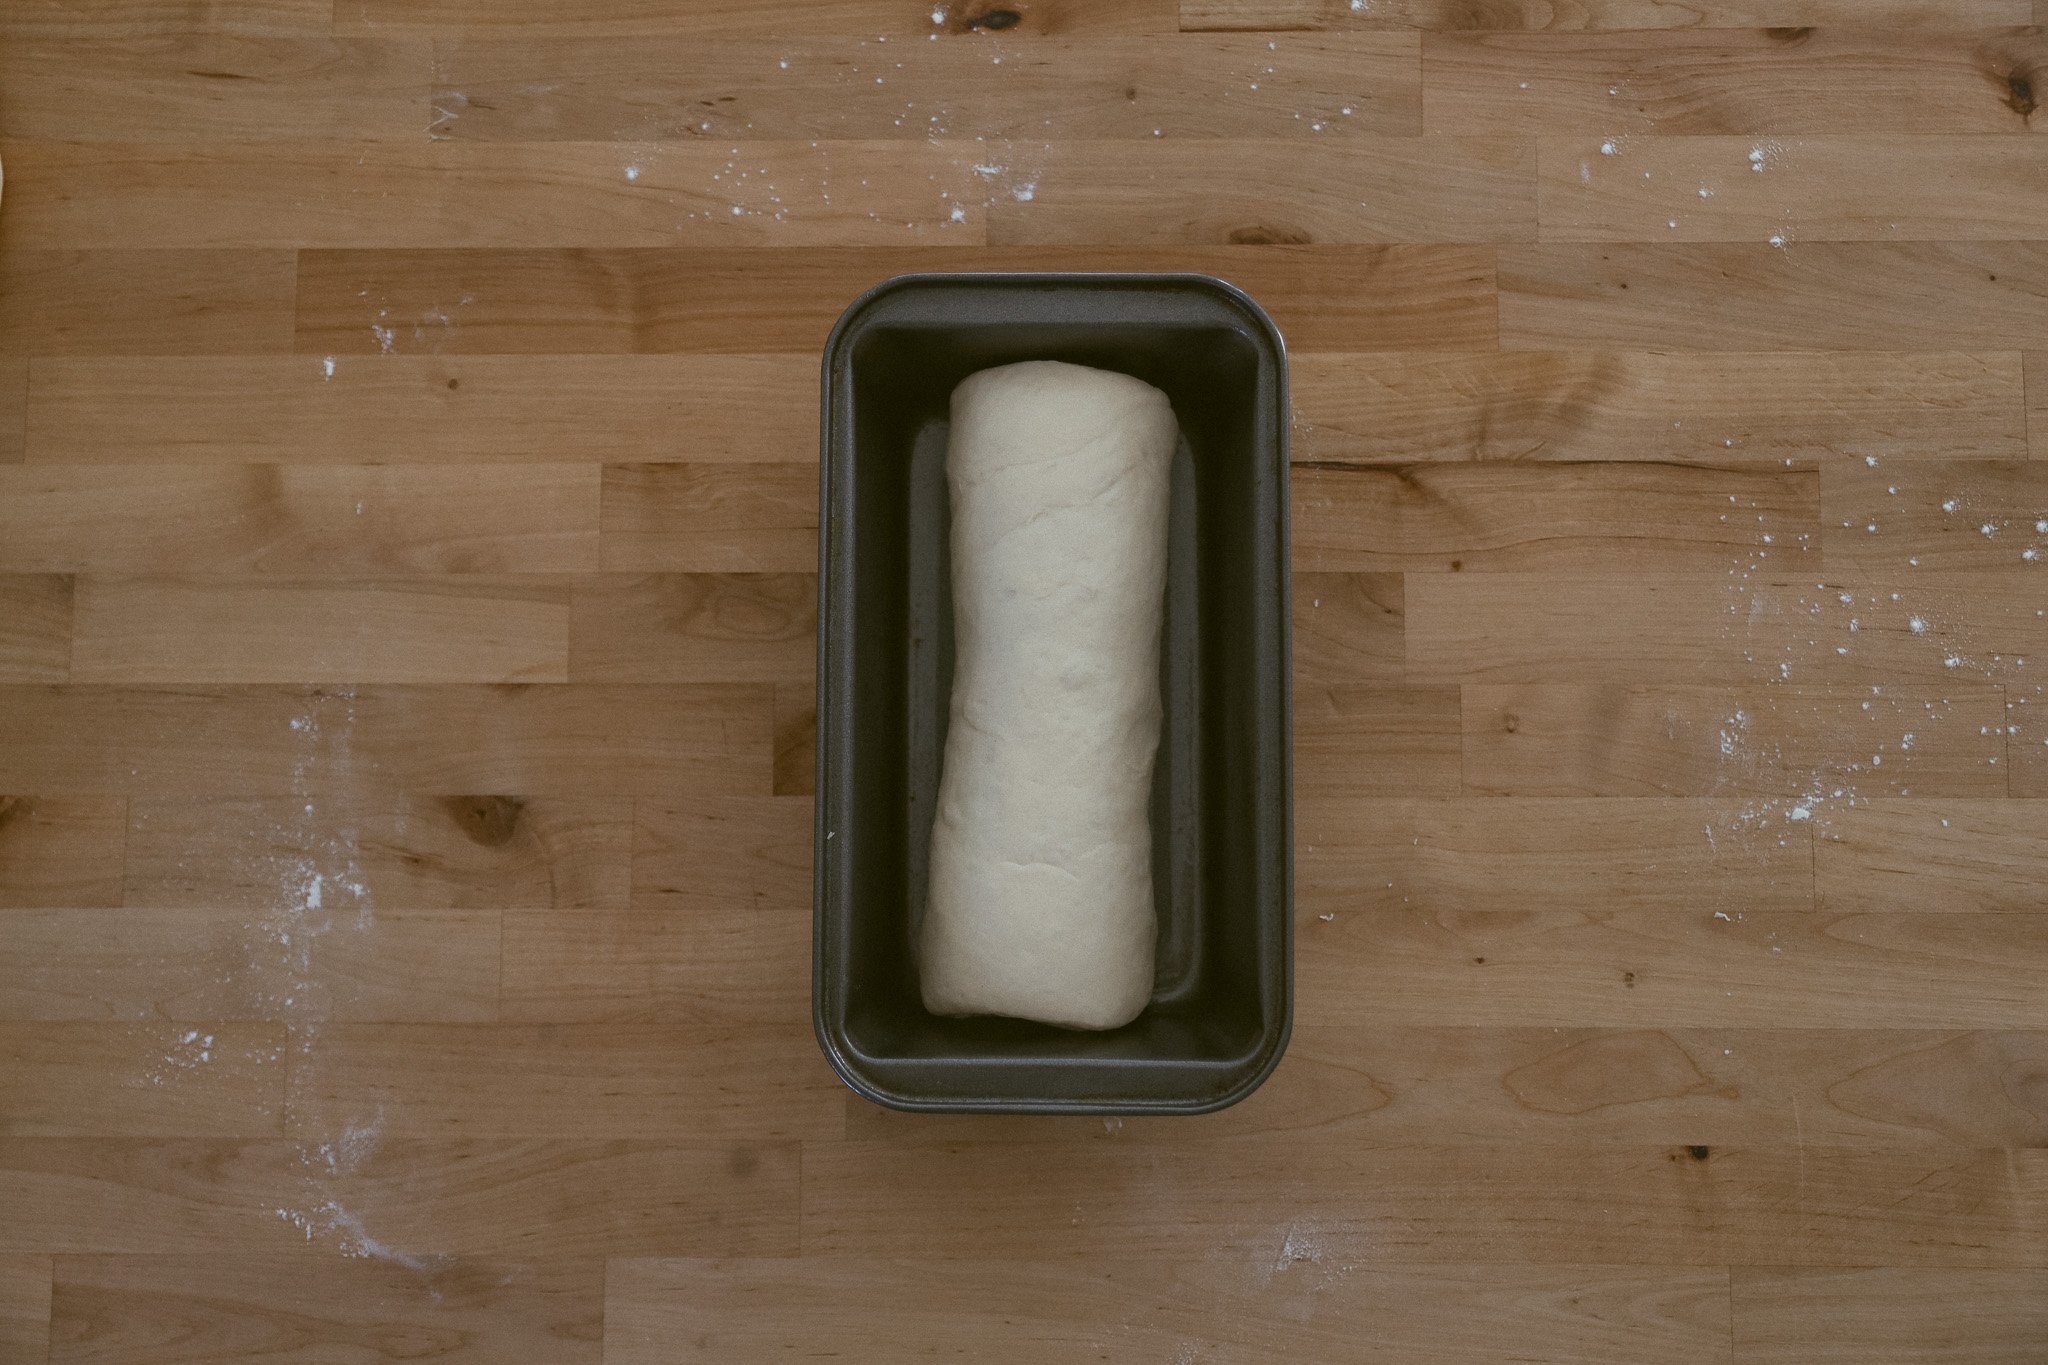
6. Starting at the smaller end of the rectangle, start rolling your dough into a log. Place the dough inside a lightly greased loaf pan and repeat with the other half. Cover with a tea towel and set aside for another 3 hours, or until the loaves start rising above the pans.
7. Preheat oven to 375 F. When the loaves have risen, place them in the center of the oven for 25-30 minutes, or until golden brown and baked through. Allow to cool completely before cutting, wrapping, and storing. Since I usually bake these late afternoon-early evening, I like to let them and cut the next day. One loaf I will store in the freezer for later and the second loaf we enjoy fresh!

I know it looks overwhelming. Sourdough does need to be babied all day BUT the actual act of baking does not take long! Each step only takes a few minutes of my time and in between I’m busying myself with other things! After you do it once it becomes much easier to incorporate into your every day routine. At this point it feels like second nature, and we get to enjoy freshly baked bread almost daily!
